Interactivity
This section covers how to make your UI respond to user input with visual feedback.
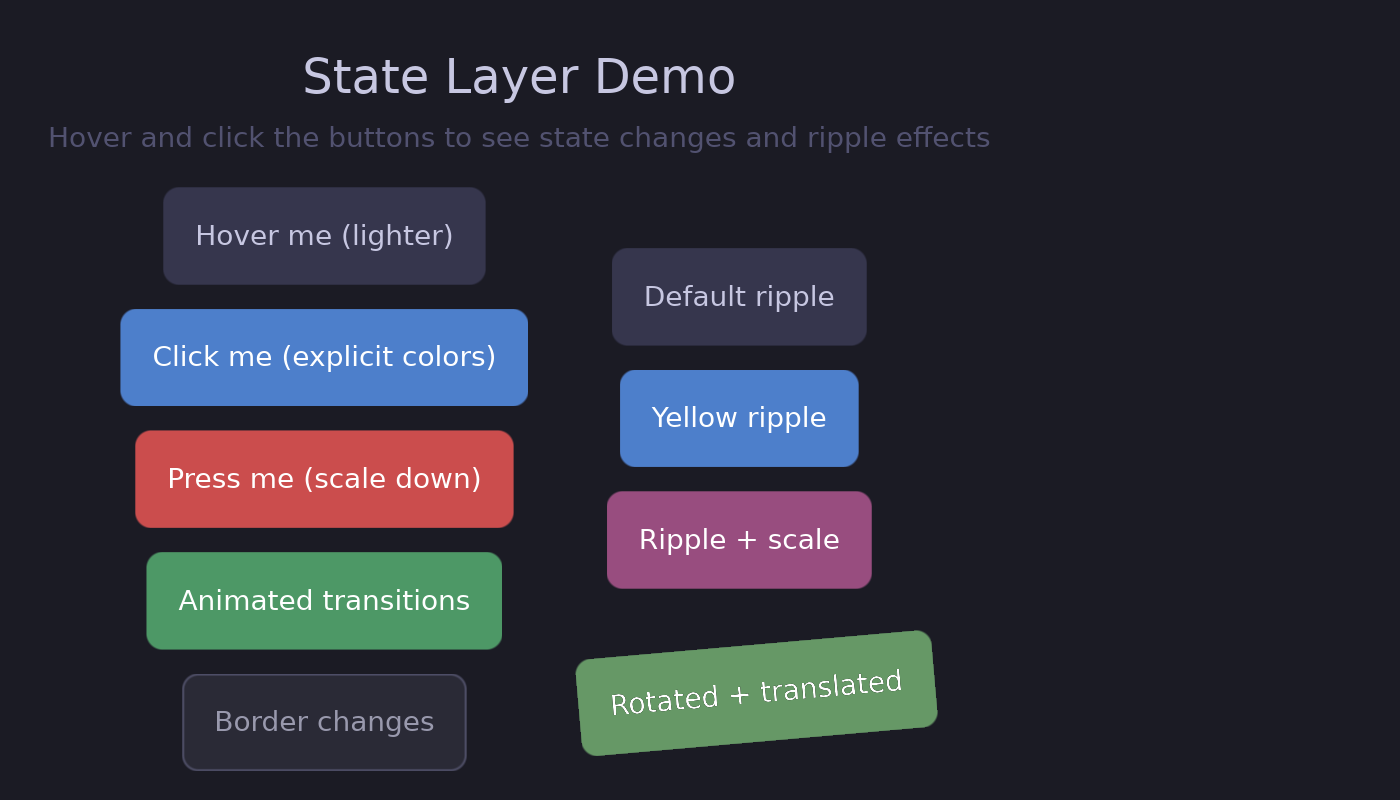
The State Layer API
Guido uses a declarative state layer system for interaction feedback. Instead of manually managing hover states with signals, you declare what should change:
#![allow(unused)]
fn main() {
container()
    .background(Color::rgb(0.2, 0.2, 0.3))
    .hover_state(|s| s.lighter(0.1))      // Lighten on hover
    .pressed_state(|s| s.ripple())         // Ripple on press
}
The framework handles:
- State tracking (hover, pressed)
- Animations between states
- Ripple effect rendering
- Transform hit testing
In This Section
- State Layer API - Overview of the state layer system
- Hover & Pressed States - Define visual overrides per state
- Ripple Effects - Material Design-style touch feedback
- Event Handling - Click, hover, and scroll events
Why State Layers?
Before state layers, creating hover effects required manual signal management:
#![allow(unused)]
fn main() {
// Old way (tedious)
let bg_color = create_signal(Color::rgb(0.2, 0.2, 0.3));
container()
    .background(bg_color)
    .on_hover(move |hovered| {
        if hovered {
            bg_color.set(Color::rgb(0.3, 0.3, 0.4));
        } else {
            bg_color.set(Color::rgb(0.2, 0.2, 0.3));
        }
    })
}
With state layers:
#![allow(unused)]
fn main() {
// New way (clean)
container()
    .background(Color::rgb(0.2, 0.2, 0.3))
    .hover_state(|s| s.lighter(0.1))
}
Benefits:
- Less boilerplate code
- No manual signal management
- Built-in animation support
- Ripple effects included